
Overcoming knee pain on your hiking adventures
Don’t let knee pain stop you from enjoying the great outdoors
I’m fairly sure I’m biased when I say hiking is one of those activities that feeds the soul, you know? It allows us to reconnect with nature, get away from the stresses of daily life (that laundry pile isn’t going anywhere), and I love the occasional physical and mental challenge.
Speaking of physical challenges, believe you me, despite being an “expert in human movement,” (that’s the definition you’ll find on many websites when you google “Kinesiologist”) even my knee acts up once in a while. Thankfully I tend to know what’s going on with my body and can usually manage it, and know how to strengthen when off trail to minimize reoccurrence, if not eliminate it.
However, for many outdoor enthusiasts, knee pain can be a common and frustrating obstacle that threatens to steal some of the joys of hiking. Whether you're a seasoned trekker or a novice explorer, understanding how to prevent and manage knee pain can make all the difference in your outdoor adventures.
Understanding Knee Pain
Knee pain while hiking can stem from various factors, including overuse, muscle imbalances, improper footwear, and underlying conditions such as arthritis or tendonitis. The repetitive stress of hiking, particularly on uneven terrain or downhill slopes, can exacerbate existing issues or lead to new ones if proper precautions aren't taken.
Tips for Preventing Knee Pain (before you hike)
1. Strengthen Your Muscles:
Building strength in the muscles surrounding the knees and hips – especially the quadriceps, hamstrings, inner thighs and glutes – can help provide better support and stability. Incorporate exercises like squats, lunges, and leg presses into your fitness routine.
If you’re already comfortable in the gym doing squats, lunges and leg presses but still experiencing knee pain, ensure your program addresses hip stabilizer muscles such as glute medius and minimus, adductors (inner thigh), single leg work and keep an eye on proper knee alignment during all lower body exercises.
2. Improve Balance:
This can be done in the gym and easily at home through exercises like standing on one foot. For beginners, find a safe spot to practice picking one foot off the floor and being close to something to help you stabilize such as a counter top or chair (or even a wall). Ensure you’re standing tall while you balance and your shoulders are relaxed. As you get more comfortable with this move, you can increase the challenge level by picking up your foot higher, holding the balance longer or turning your gaze to look at various objects in the room.
If you’re confident in your balance and really want a challenge, try things like closing your eyes, standing on a less stable surface (like a cushion) or changing your centre of gravity by holding a heavy object in one hand and moving it around. Remember - SAFETY FIRST!
3. Improve Flexibility:
Maintaining an appropriate level of mobility in the muscles and ligaments around the knees can help reduce strain and prevent injury. Incorporate mobility drills for the quadriceps, hip flexors, hamstrings, glutes, calves, and IT band into your pre-hike warm-up, and more static stretches at the end of the hike during your cool-down.
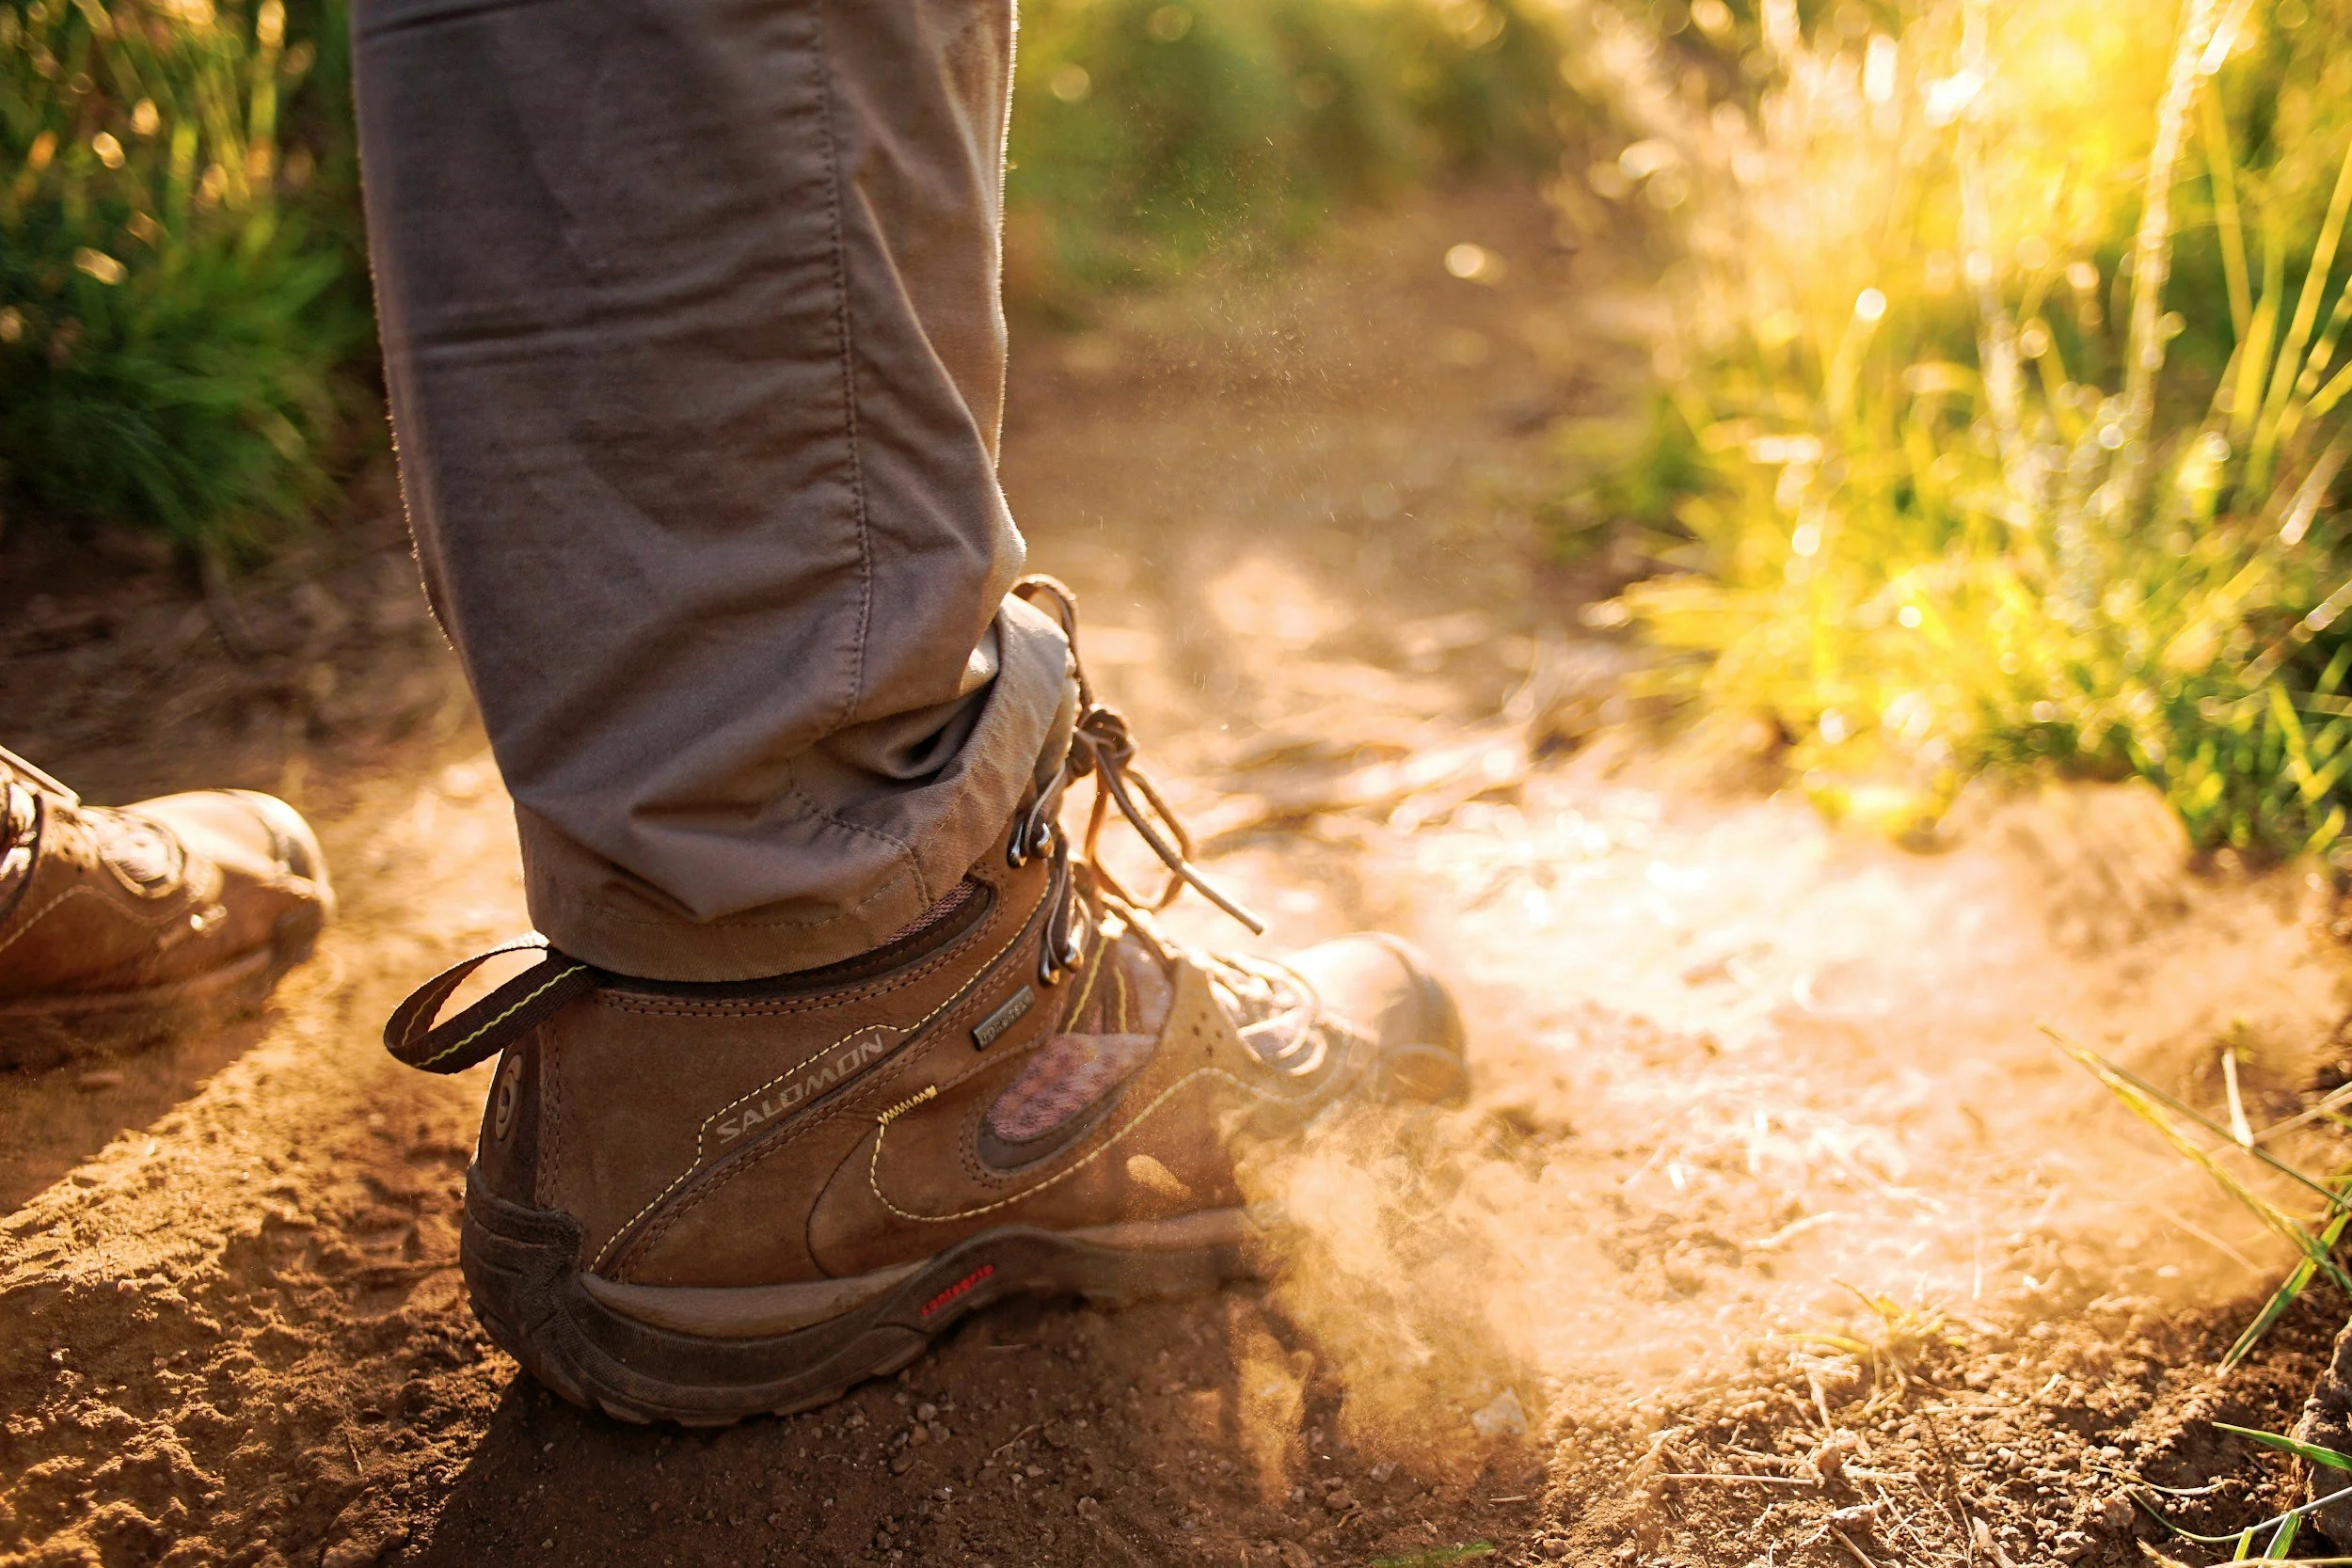
4. Choose the Right Footwear:
Invest in a pair of hiking boots or shoes that provide proper support, cushioning, and traction. Look for footwear with sturdy ankle support and a supportive midsole to help absorb shock and reduce impact on your knees. A reputable shoe store should allow you to try your boots indoors for a period (2-3 weeks) and during this time, wear them indoors, and if you have a treadmill that inclines, you can test to see if the footwear flexes where you want it to flex, the heel cup doesn’t dig into your foot and there are no pinching points. If something doesn’t sit right during this time, don’t assume that “it’ll work itself out” - you don’t want to have to deal with that in the middle of a hike, no matter how short it is.
5. Use Trekking Poles:
Trekking poles can help distribute weight more evenly, reduce stress on your knees, and provide added stability on challenging terrain. Use them to support yourself while ascending or descending steep slopes, and adjust the length to suit the terrain.
6. Mind Your Technique:
Pay attention to your hiking technique and posture to minimize strain on your knees. Take shorter steps on steep descents to reduce impact, and try to keep your knees aligned with your ankles and hips to maintain proper alignment. You might need to be a bit of a movement nerd to keep this in the front of your mind while hiking, but if it helps prevent knee pain…

Managing Knee Pain on the Trail
Despite your best efforts, knee pain may still arise during a hike. Here are some strategies for managing discomfort and preventing further injury:
Take Regular Breaks
Listen to your body and take frequent breaks to rest and stretch your legs. Use these opportunities to rehydrate, refuel, and assess your comfort level.
Modify Your Route
If you experience significant knee pain, consider modifying your route to avoid steep descents or uneven terrain. Opt for flatter trails or shorter distances until your knees feel more comfortable.
Managing Knee Pain After the Trail
Ice and Elevate…?
If you experience swelling or inflammation in your knees after a hike, apply ice and elevate your legs to reduce pain. Now, if we want to get technical, current studies show that application of ice isn’t the way to go as inflammation is part of the body’s natural healing response, and I’m all for that appropriate natural body healing. Obviously allowing your joints to rest as part of the recovery is important, but if you find that the swelling and discomfort are “too much” because you simply must be up and about (you have a standing job or little ones to chase after), and a little application of ice helps you feel better and move a little bit more smoothly, just find a balance between icing and not-icing and resting.
Seek Professional Advice
If knee pain persists or worsens despite self-care measures, consult a healthcare professional for a thorough evaluation and personalized treatment plan. They can help identify any underlying issues and recommend appropriate interventions. While a Kinesiologist can be helpful to develop a modified strength routine, if you’re in pain, we recommend seeing your doctor and physiotherapist first for a detailed diagnosis. You may need to consider tools such as orthotics, or medication in your recovery program.
If this is a recurring issue, your physician might send you for an imaging test such as CT-scan, x-ray or MRI to help determine the best course of action to helping you resolve your pain.
While knee pain can be a frustrating challenge for hikers, it doesn't have to derail your outdoor adventures. By taking proactive steps to prevent injury, listening to your body, and employing strategies to manage discomfort on the trail, you can continue to explore nature's wonders and reap the benefits of hiking! Remember to prioritize your health and well-being, and don't hesitate to seek professional guidance if needed. With the right approach and mindset, you can conquer knee pain and embark on many more memorable hiking adventures in the great outdoors.
Disclaimer: The information on this site is provided as an information resource only, and is not to be used for any diagnostic or treatment purposes or to provide medical advice. Always consult your licensed physician or health care provider before making any health care decisions, or for guidance about a specific medical condition.